Projects
After your Login to Sitelife, you will get to an overview of all the projects you have got access to. These projects are either accessible company-wide or you have been explicitly granted access to these projects. Administrators can create new projects and allow access to them. If your overview section is empty or a project is missing, please contact the administrator of the respective project to which you need access to.
The projects in the overview list can be filtered by text entry; they can be sorted alphabetically or chronologically by creation date. Clicking on a specific project will take you directly to the respective project.
 |
|---|
You can log out of Sitelife by clicking on your initials in the top right-hand corner of the navigation bar.
Create a Project
To create a project, you need to click on the "+ Create project" button in the upper right corner. A window opens where you must enter the name and description of your project.
As explained in the window, the toggle function "Private Project" allows you to create a project to which, by default, no one but you has access. You can add external users, but accounts belonging to your company cannot see or access this project.
Now, after clicking on "Next"need to upload a project image. This will then be visible on reports and overviews that have been created.
The newly created project is now visible in the project overview. Click on the project picture to get into the project.
Your Project
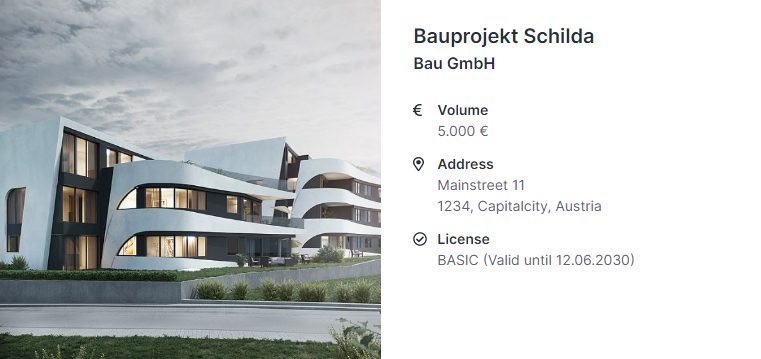
All projects contain the information you defined during the creation process and settings. This includes project names, volume and the associated company.
 |
|---|
Licenses
Under Licenses you can see whether you have activated a Construction Report license and how long it is still valid.
Models and Plans
Information on how you are able to add set sheet to your projects are available here.
Users
Here you can see all the users who have access to your project. If the project is private, all users with access are listed here. If the project is not private, all members of your company automatically have access to it.
Add external users by entering their email address into the corresponding text field.
Trades
Here you are able to create trades for your Construction Report. More information on this can be found here.
 |
|---|
Settings
Here you are able to declare element filters. This is also the place where you can add additional Information to your project. Click on the required cell to enter the information. After you are finished, you have to click on "save" before you leave.
After entering an adress and coordinates, weather and the Google Maps location will be displayed in the project overview.