Models and Plans
This tab serves to manage the files your projects consists of.
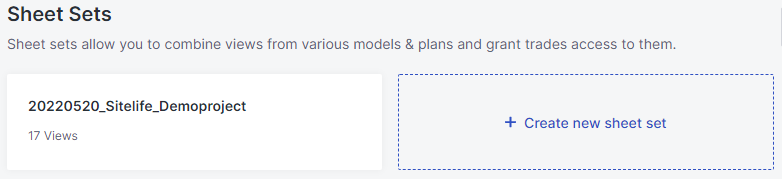
Sheet Sets
In order for your trades to use a model in your Sitelife environment, you have to create a set sheet. Click on "+ Create new sheet set" and select the required views from your list of uploaded files. After assigning a name to the set sheet, you can save it and assign it to a trade. This way you are able to regulate what parts of a project can be seen by your coworkers.
 |
|---|
Uploading files
Alternatively to our Revit Addin you are able to upload files here. Click on "Upload file" and select the type of file you want to upload. Afterwards you are able to choose the file you want to upload from your computer. You are able to upload Revit-, PDF- and IFC-files.
When naming your files, you have to need to follow some rules. You are allowed to use following characters:
Alphanumeric characters:
- 0-9
- a-z
- A-Z
Special characters:
- Exclamation point (!)
- Hyphen (-)
- Underscore (_)
- Period (.)
- Single quote (')
- Open parenthesis (()
- Close parenthesis ())
Spaces are not allowed when naming the file.
Sitelife generates an ID for all Revit links. If one of these links is deleted and added again, Sitelife assigns a new ID. As a result, the information generated by Sitelife can no longer be assigned to the element.
Because of this, you should update your links only by using the "Reload"-symbol. This ensures the correct assignment of the information to your elements.
Additional information and guidelines on this topic can be found on our download page.
Process Data
After uploading a file, it needs to be processed before it can be used. In order to do this, click on "Process" in the "Status"-column. Refresh to see if the process is done. If the file is ready, you will see a green checkmark.